


This week I played graphic designer and story teller. I put together two illustrated pages telling the story of the modular set and another two showing the range of forms available with detailed price list. They printed up beautifully as two sided colour copies. Pdf copies available by request.
The text of “Modular Set: From model to finished product” is as follows:
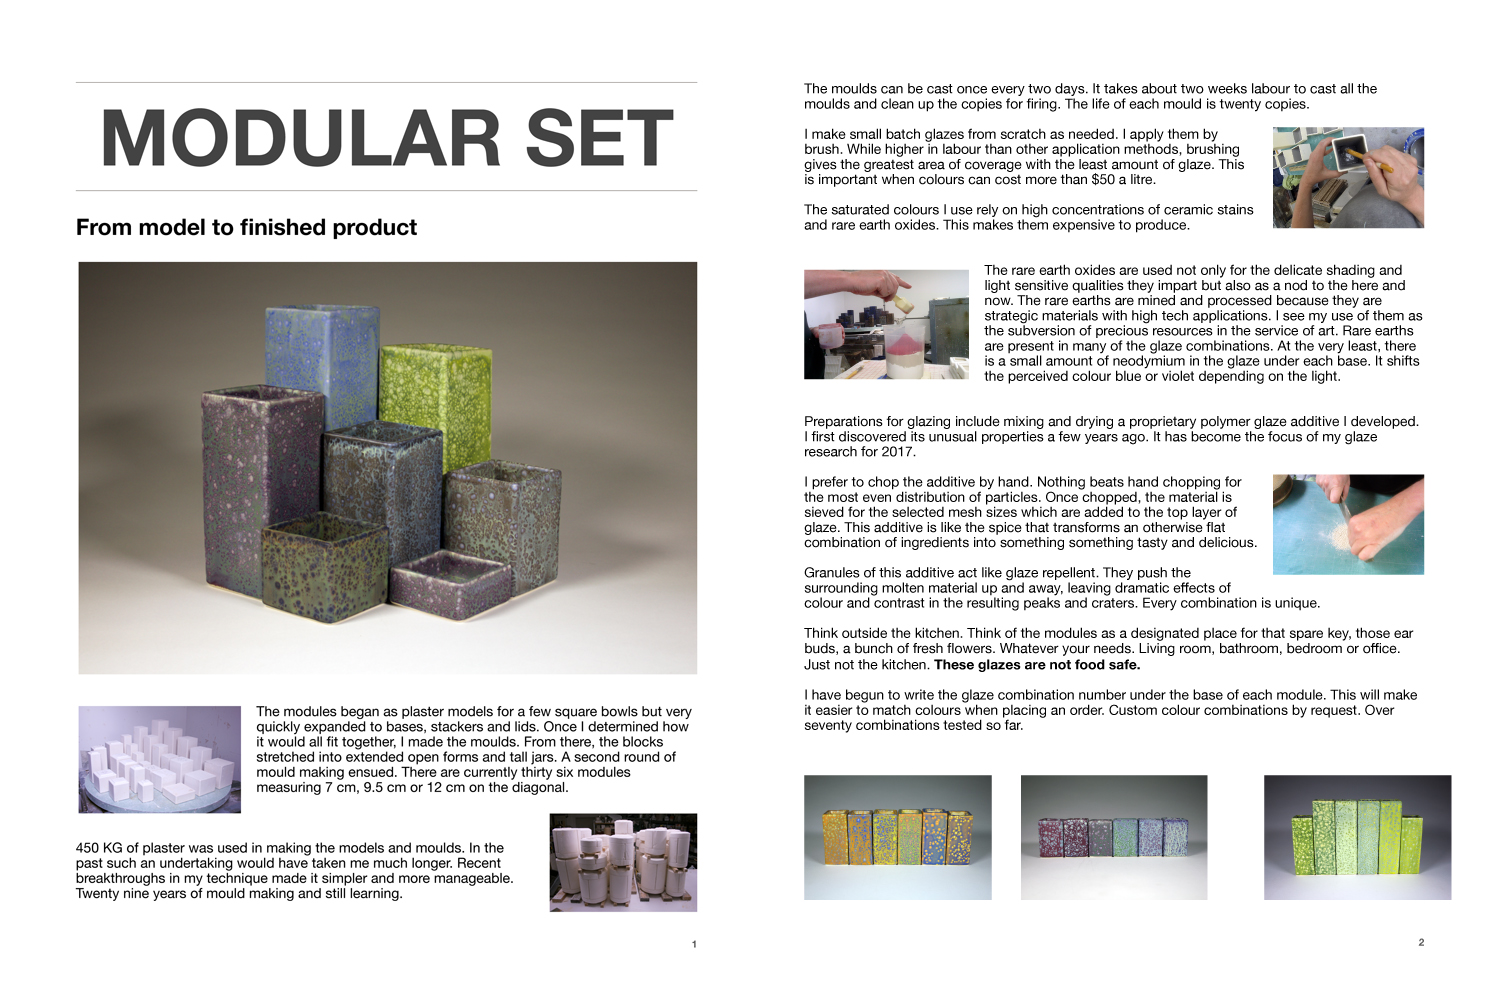
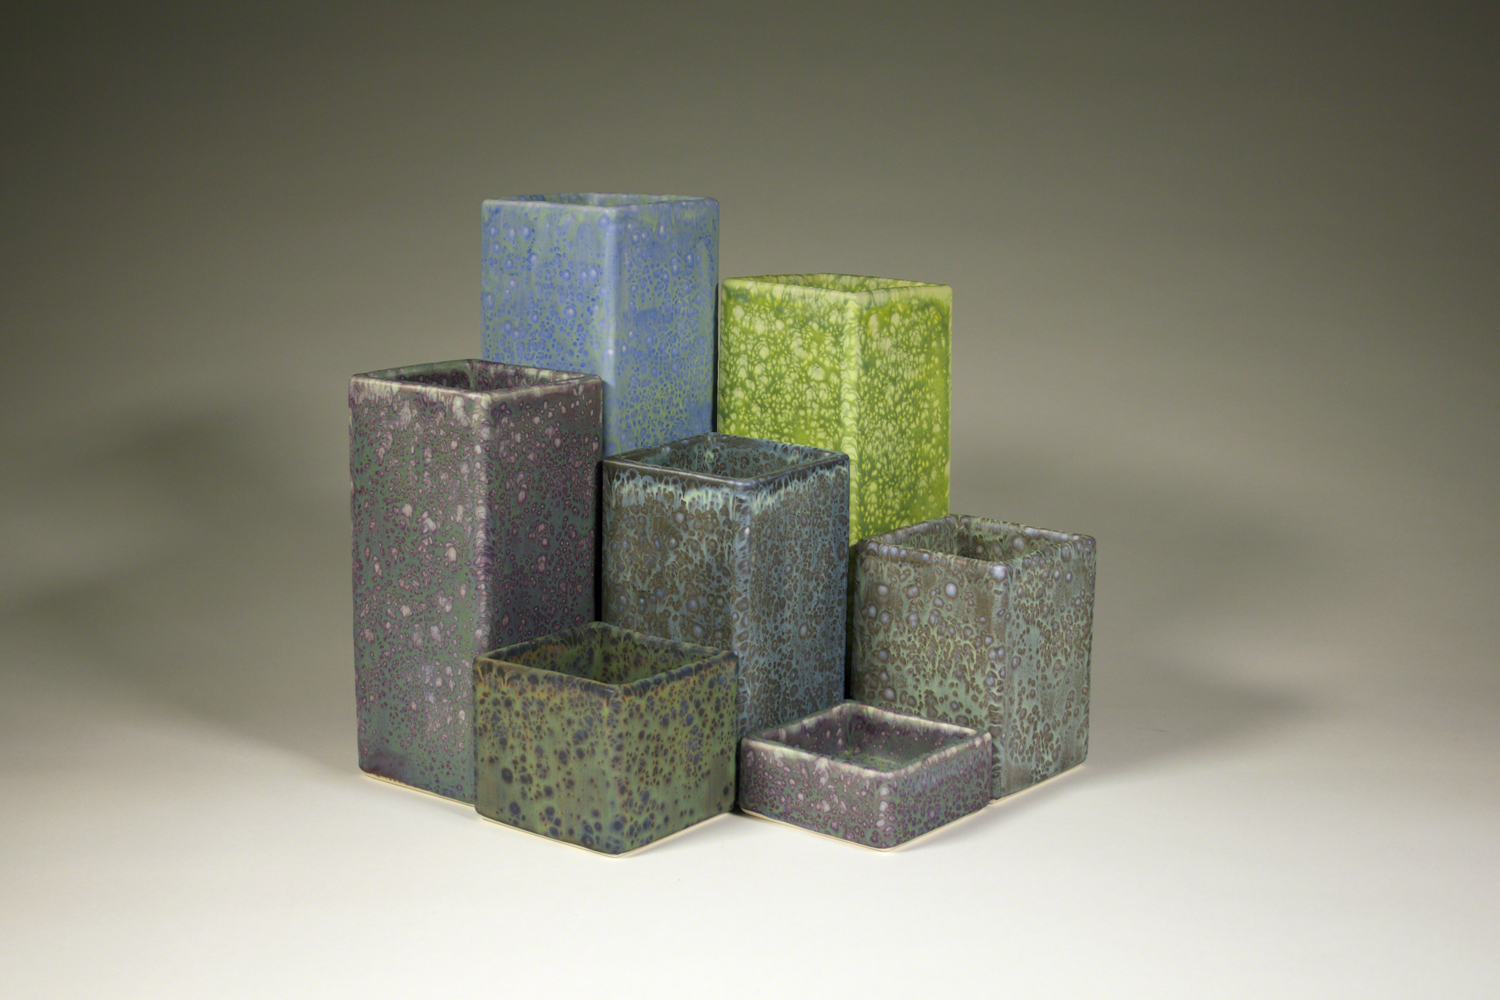
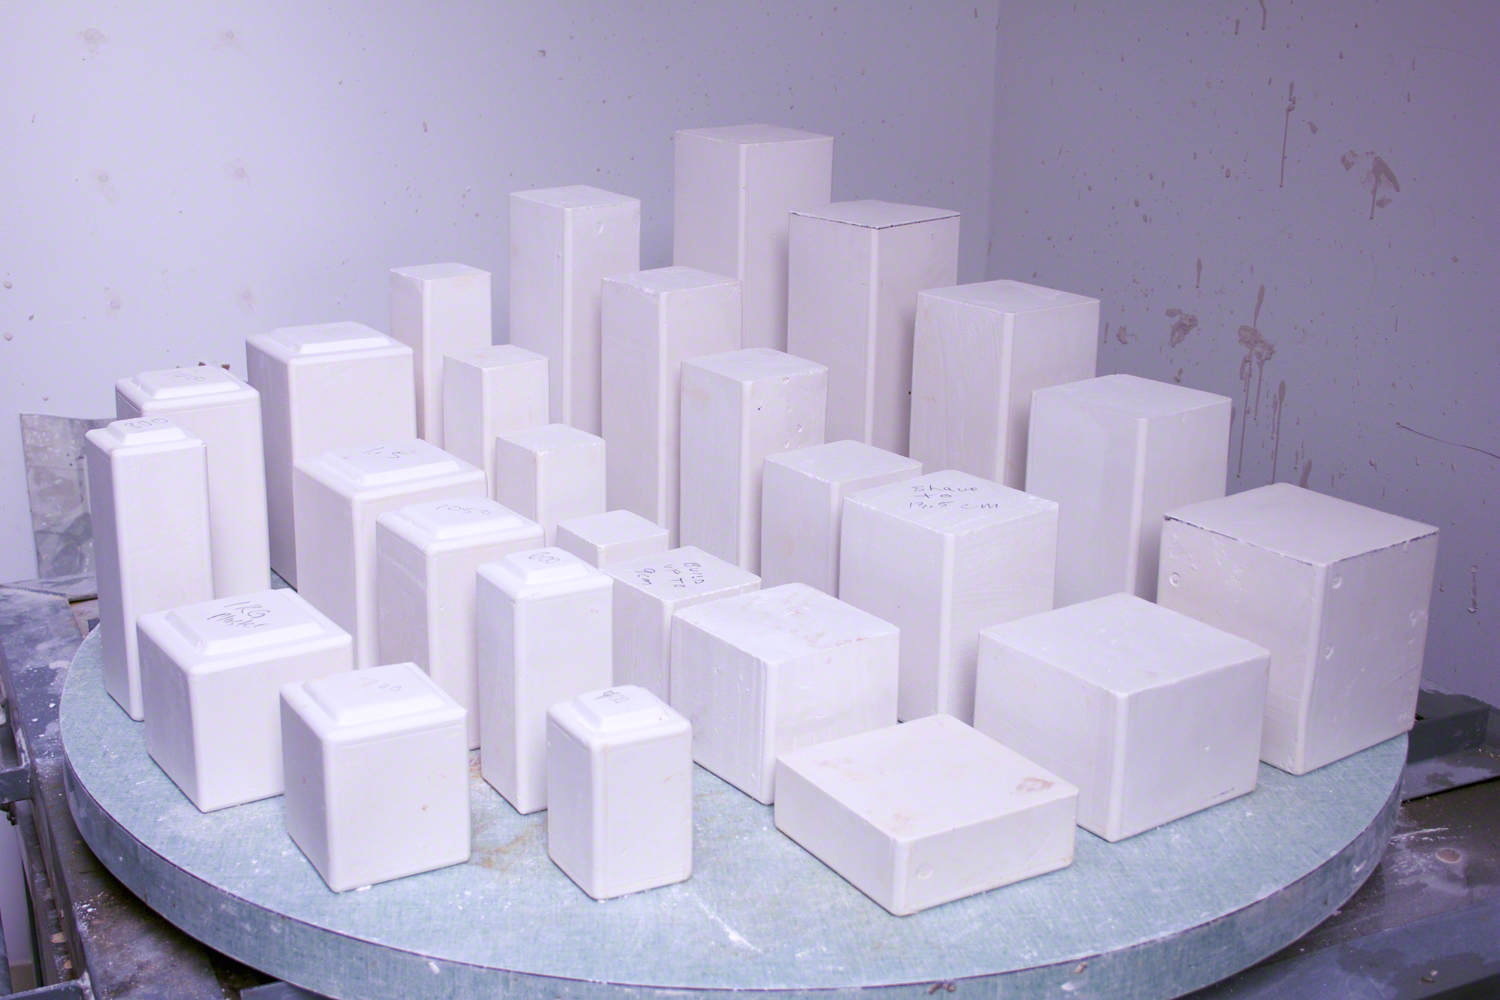
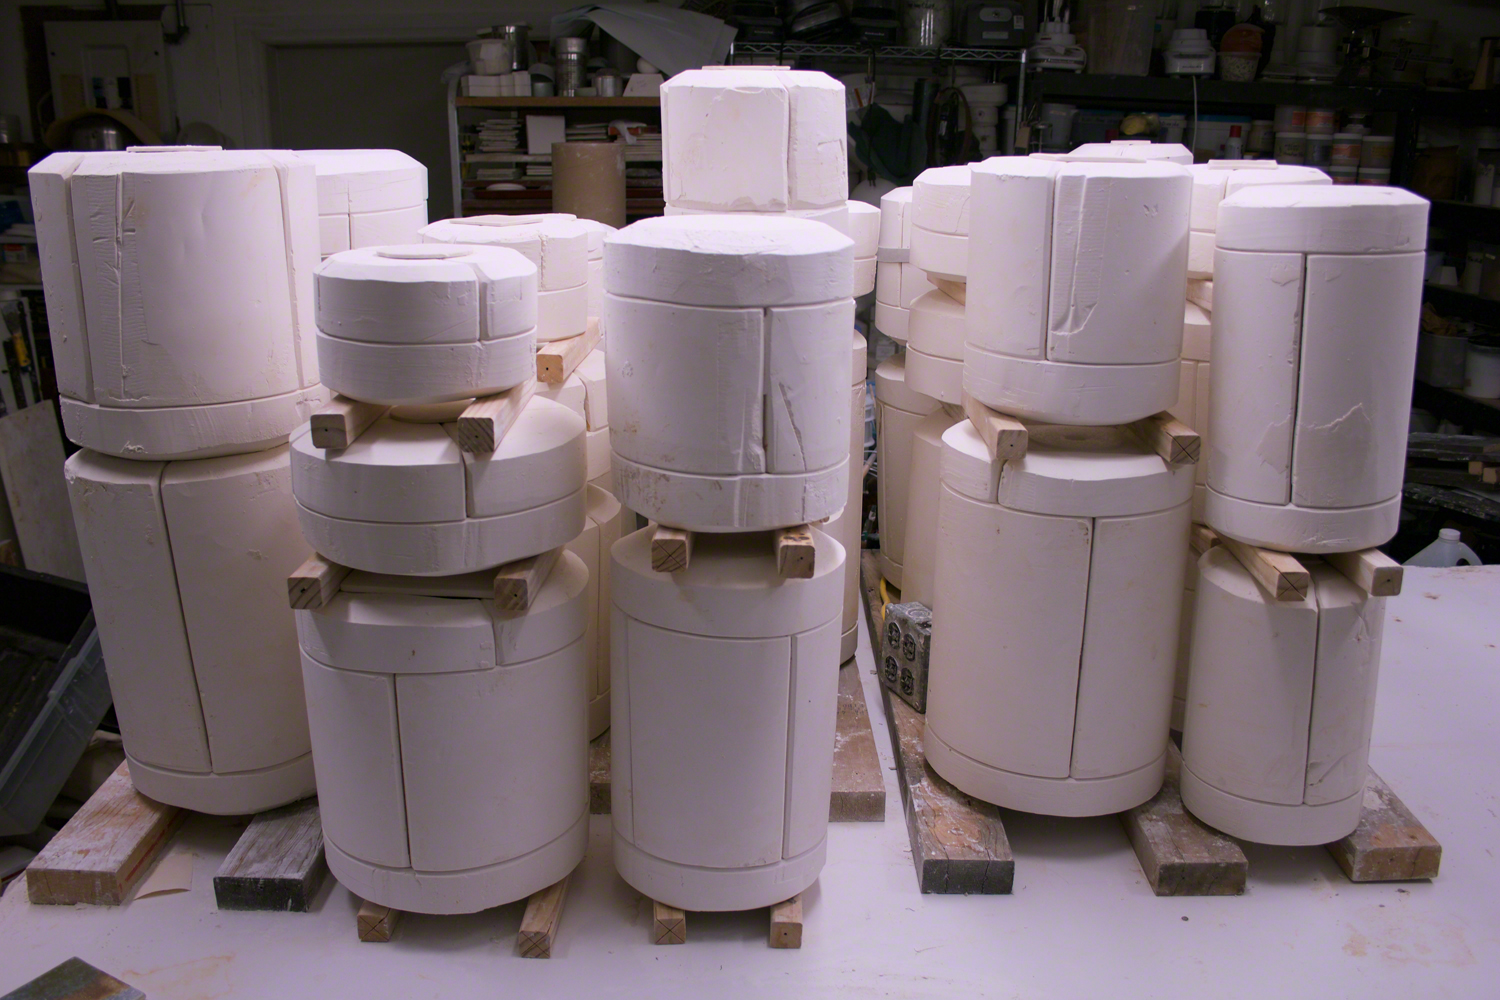
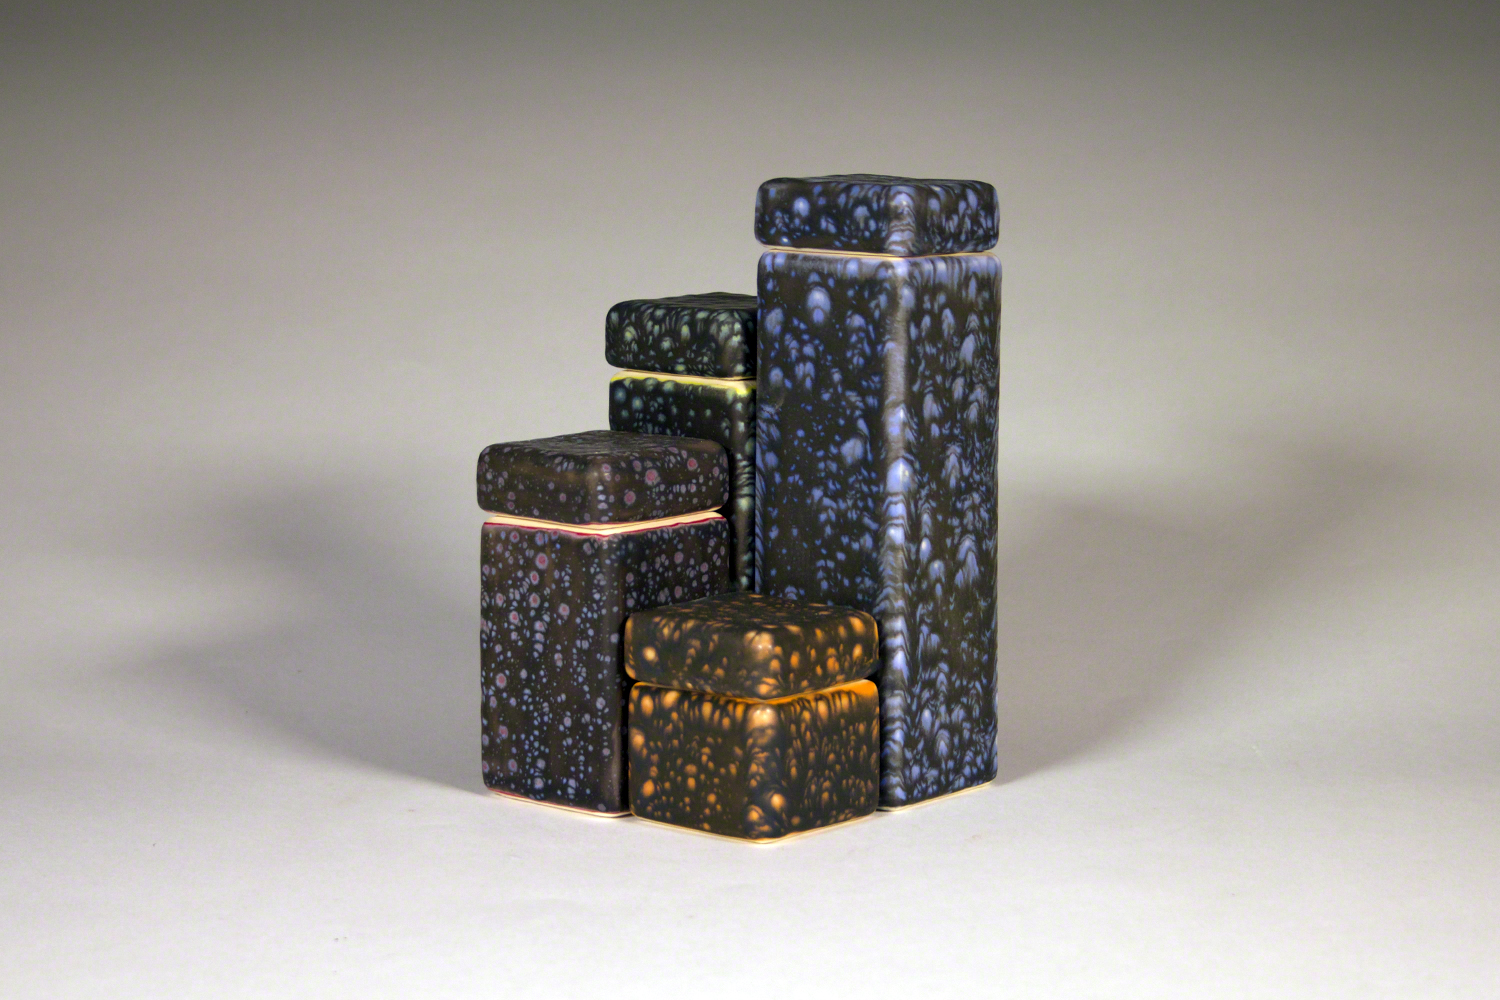
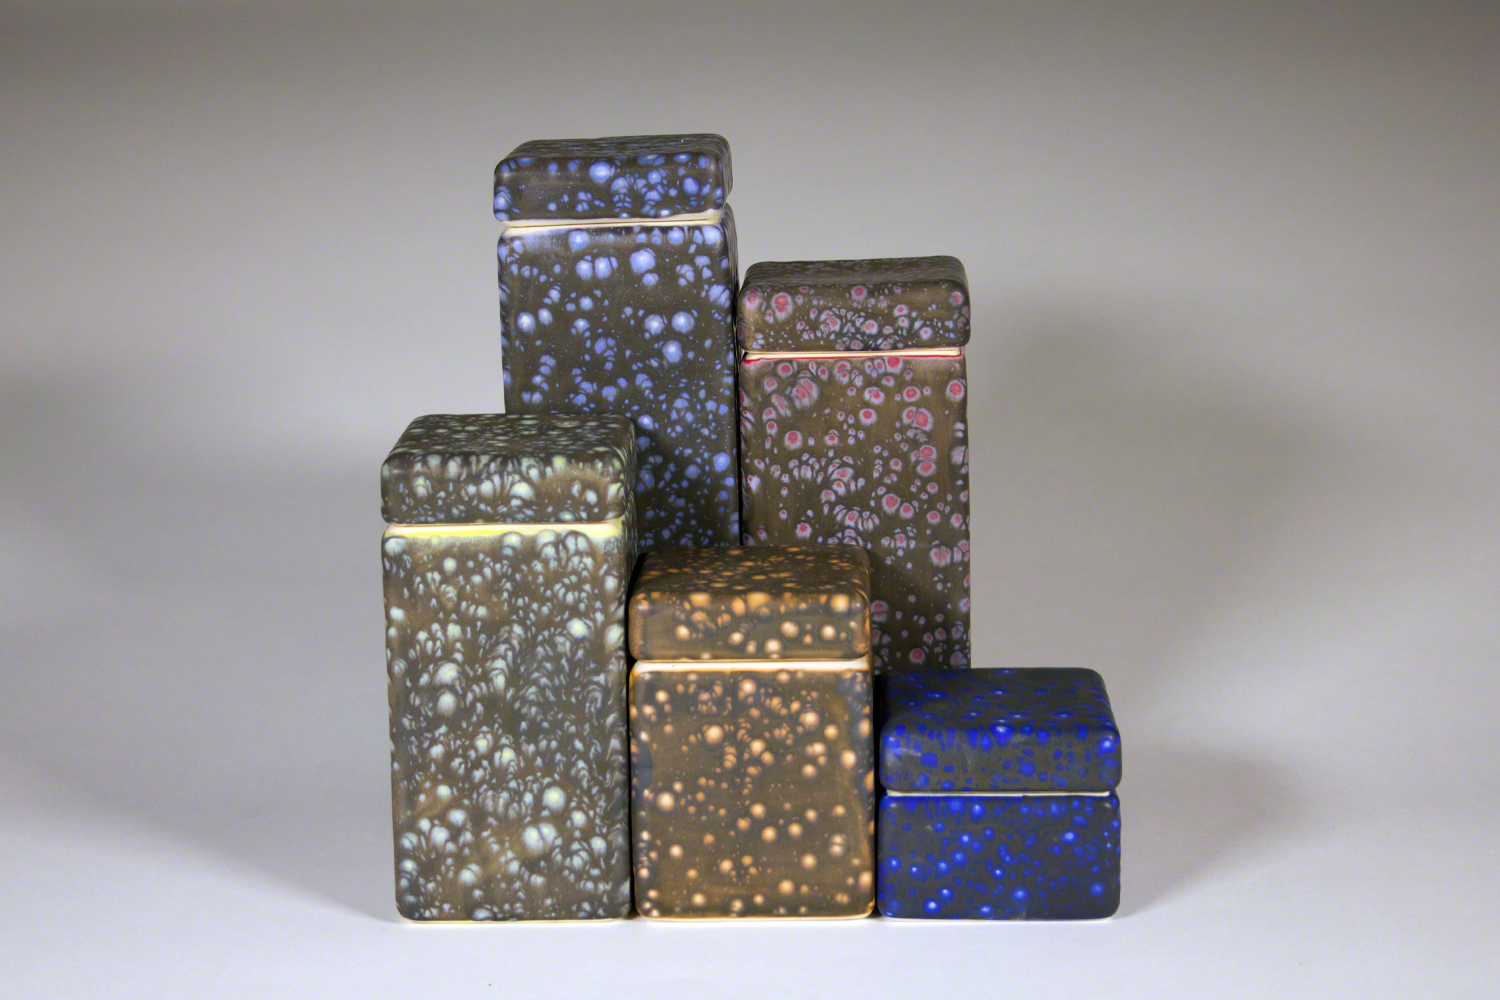
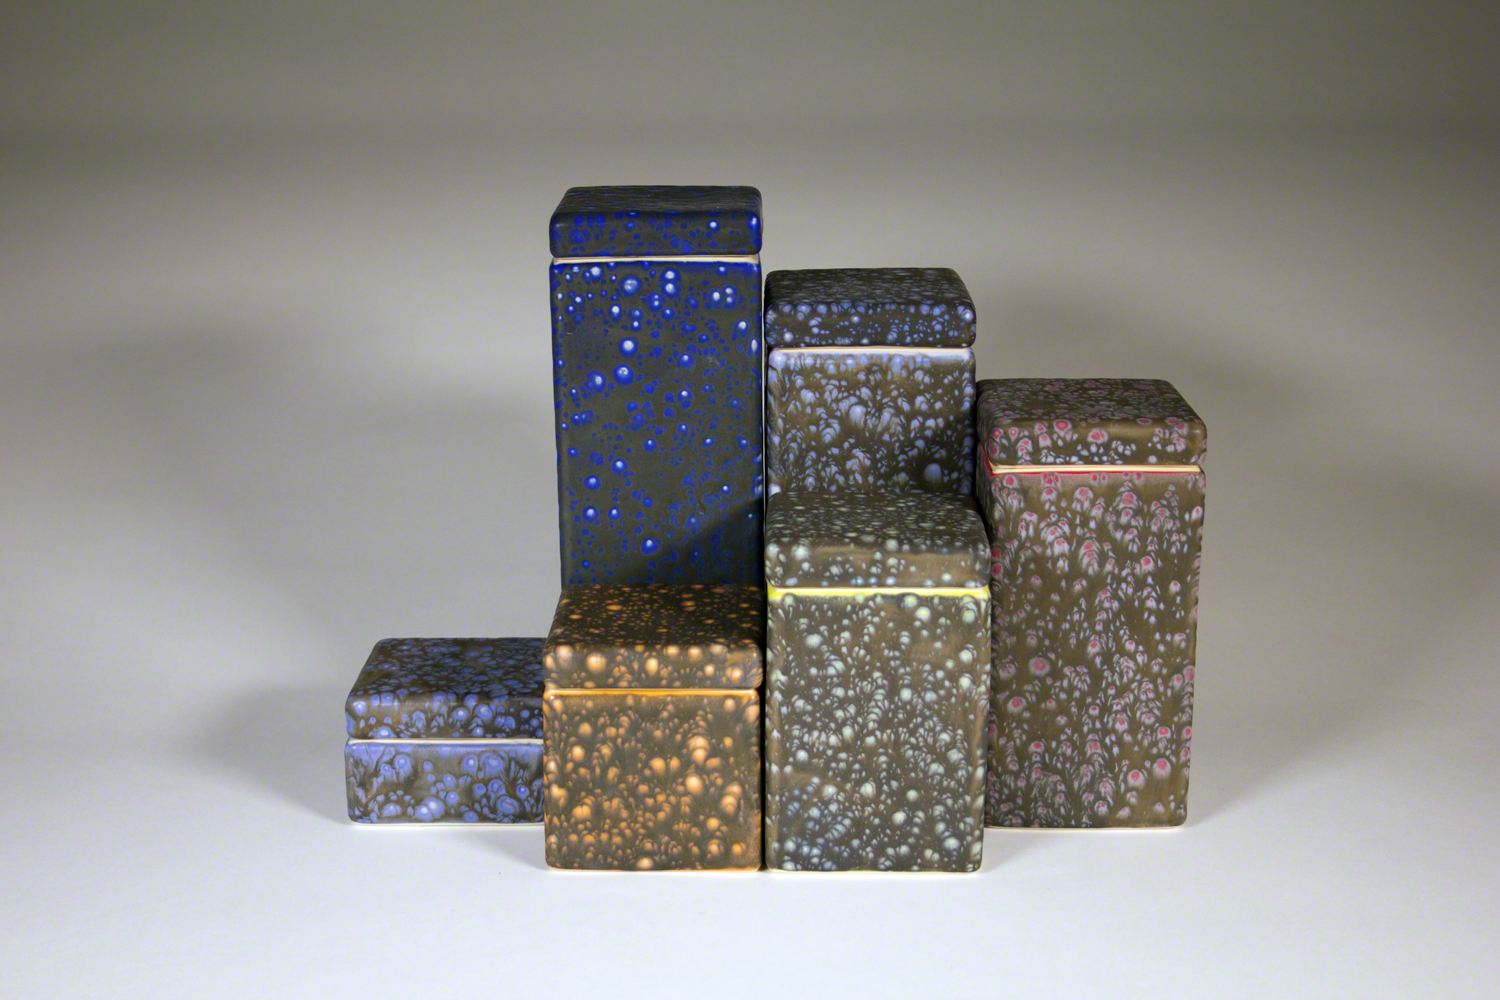
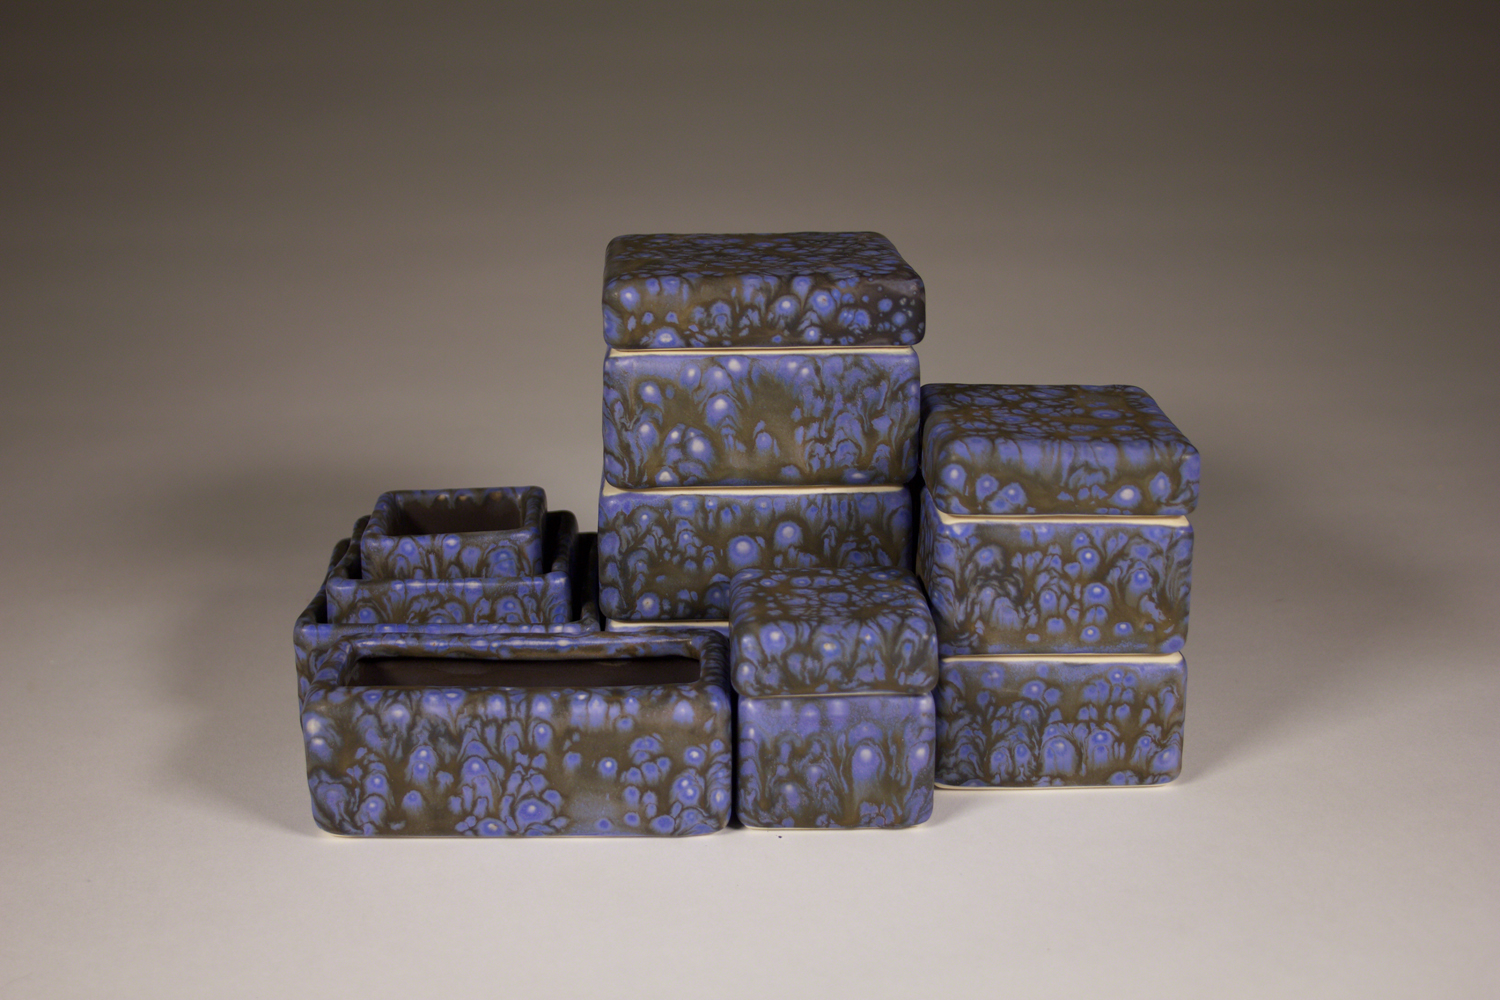
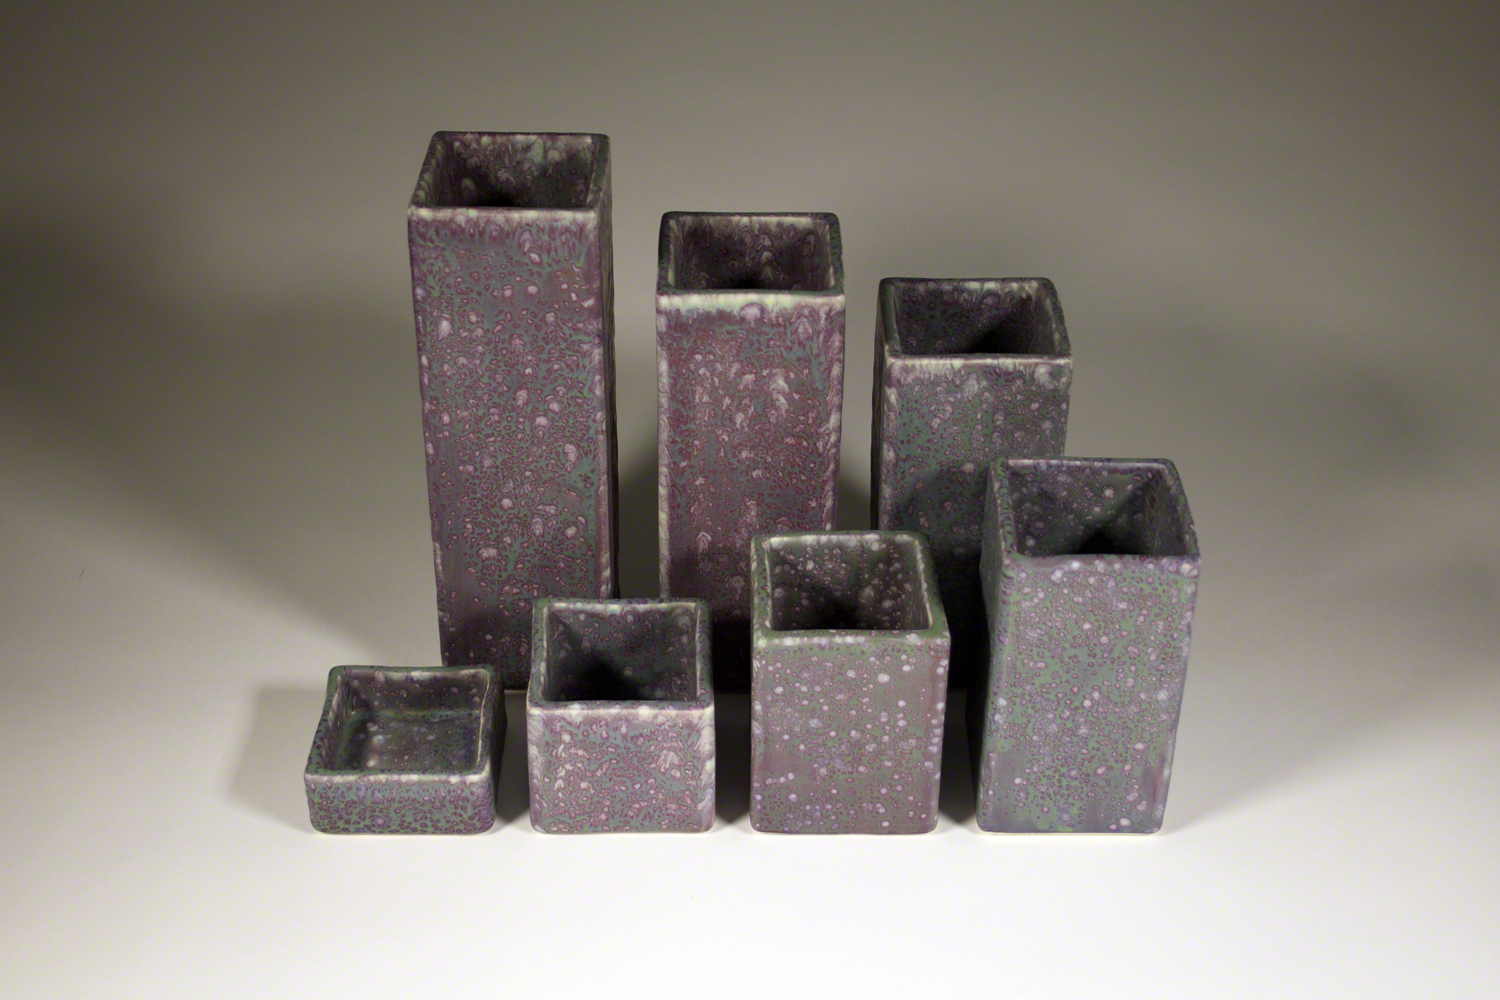
“The modules began as plaster models for a few square bowls but very quickly expanded to bases, stackers and lids. Once I determined how it would all fit together, I made the moulds. From there, the blocks stretched into extended open forms and tall jars. A second round of mould making ensued. There are currently thirty six modules measuring 7 cm, 9.5 cm or 12 cm on the diagonal.
450 KG of plaster was used in making the models and moulds. In the past such an undertaking would have taken me much longer. Recent breakthroughs in my technique made it simpler and more manageable. Twenty nine years of mould making and still learning.
The moulds can be cast once every two days. It takes about two weeks labour to cast all the moulds and clean up the copies for firing. The life of each mould is twenty copies.
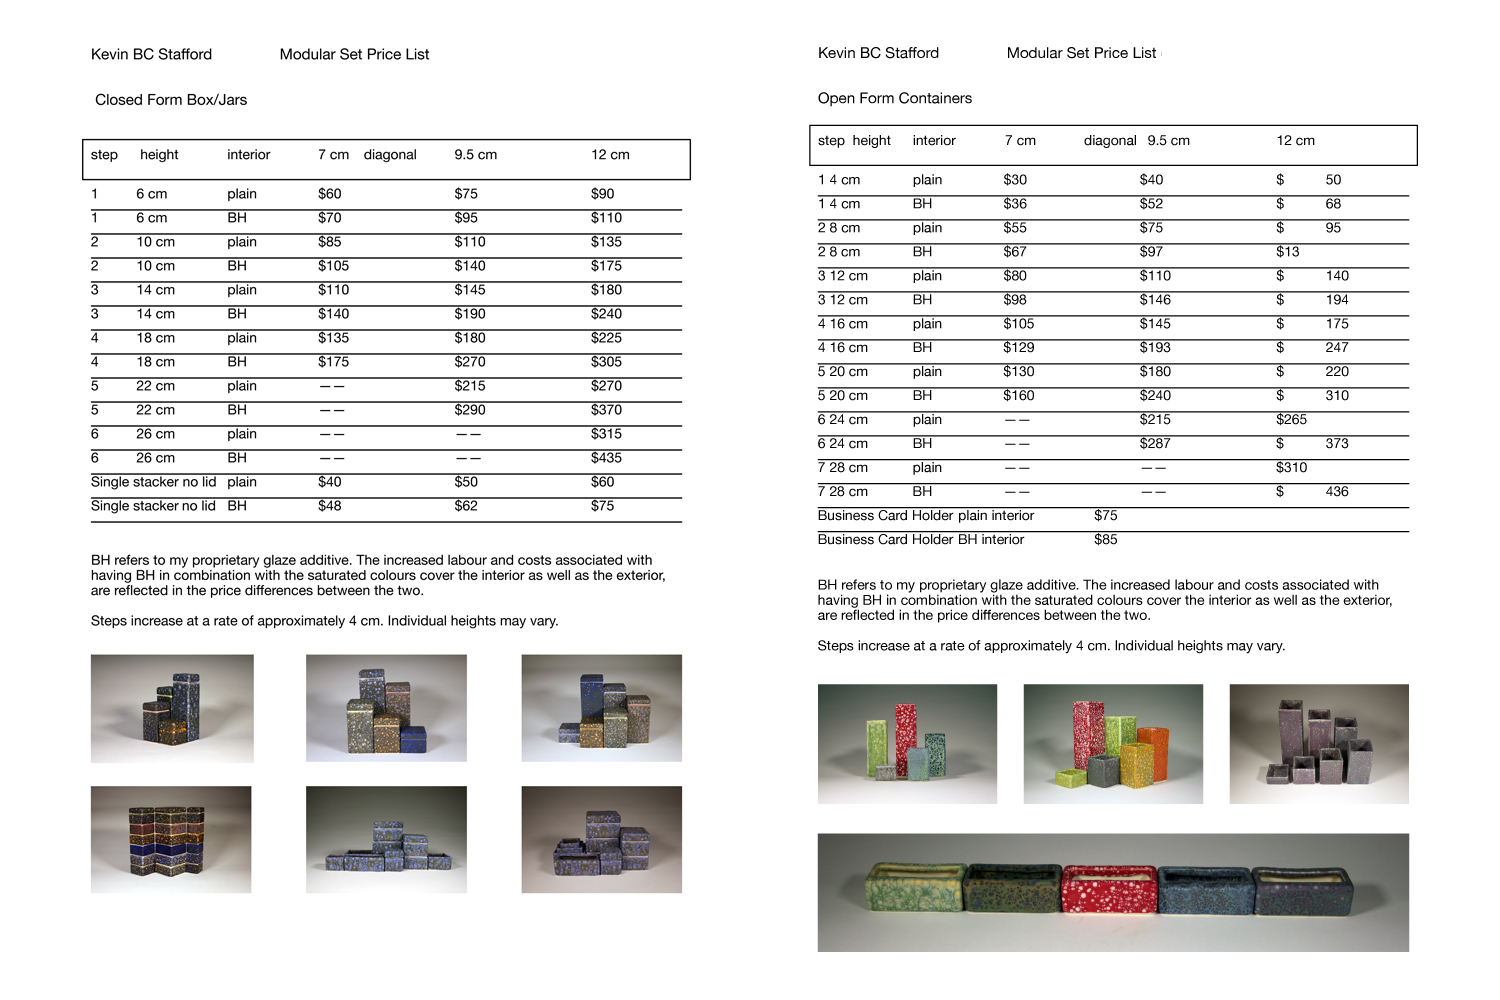
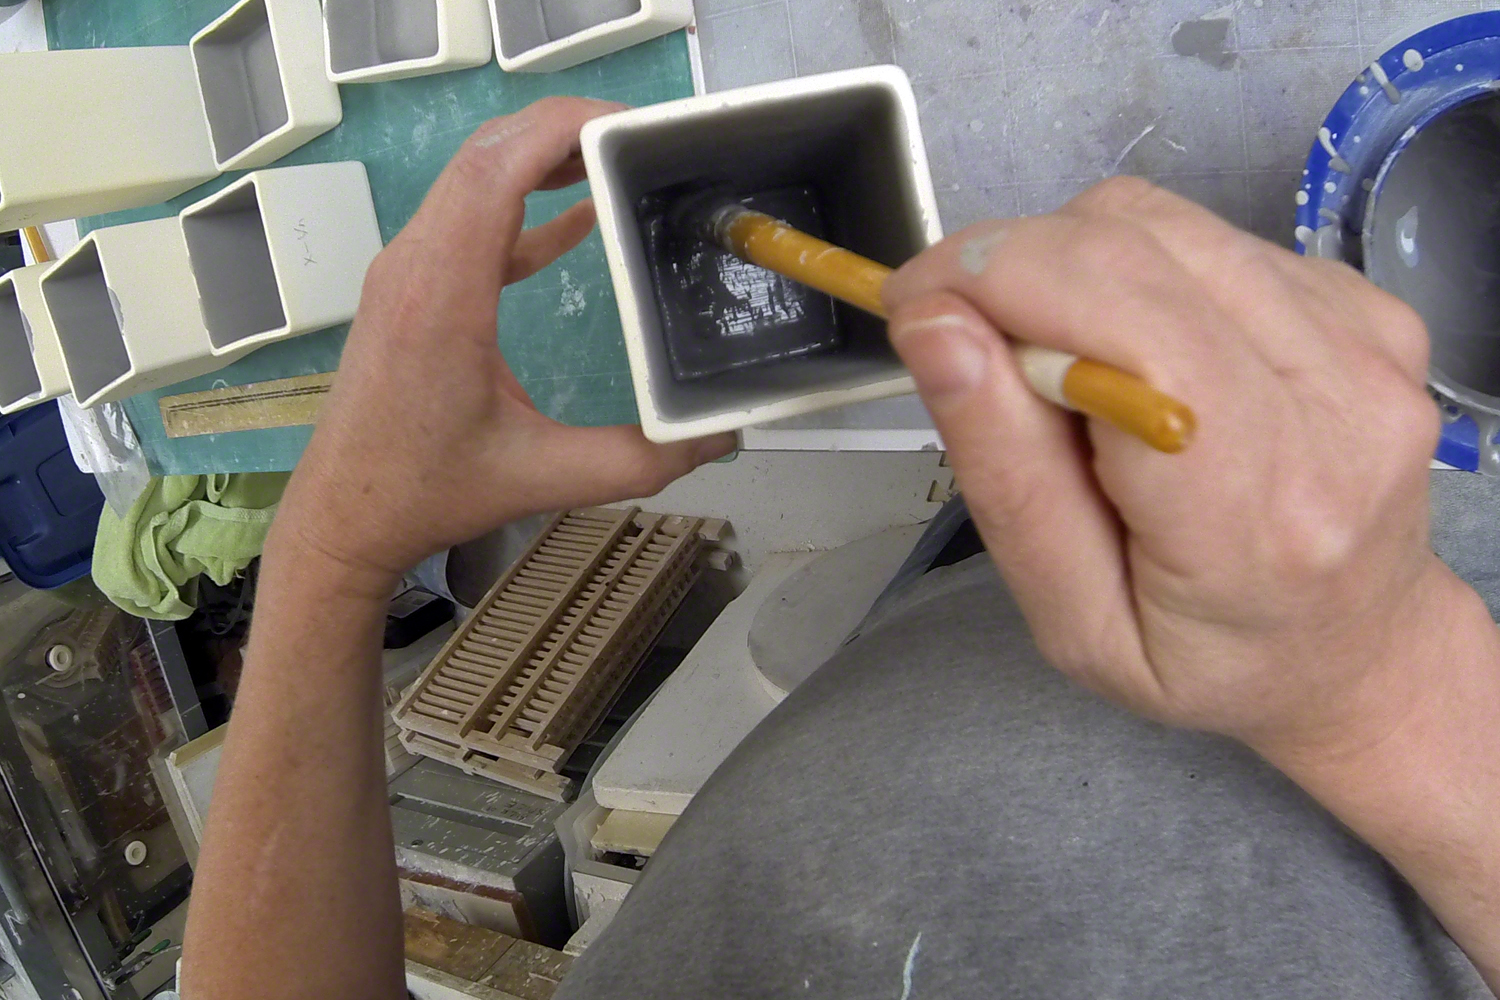
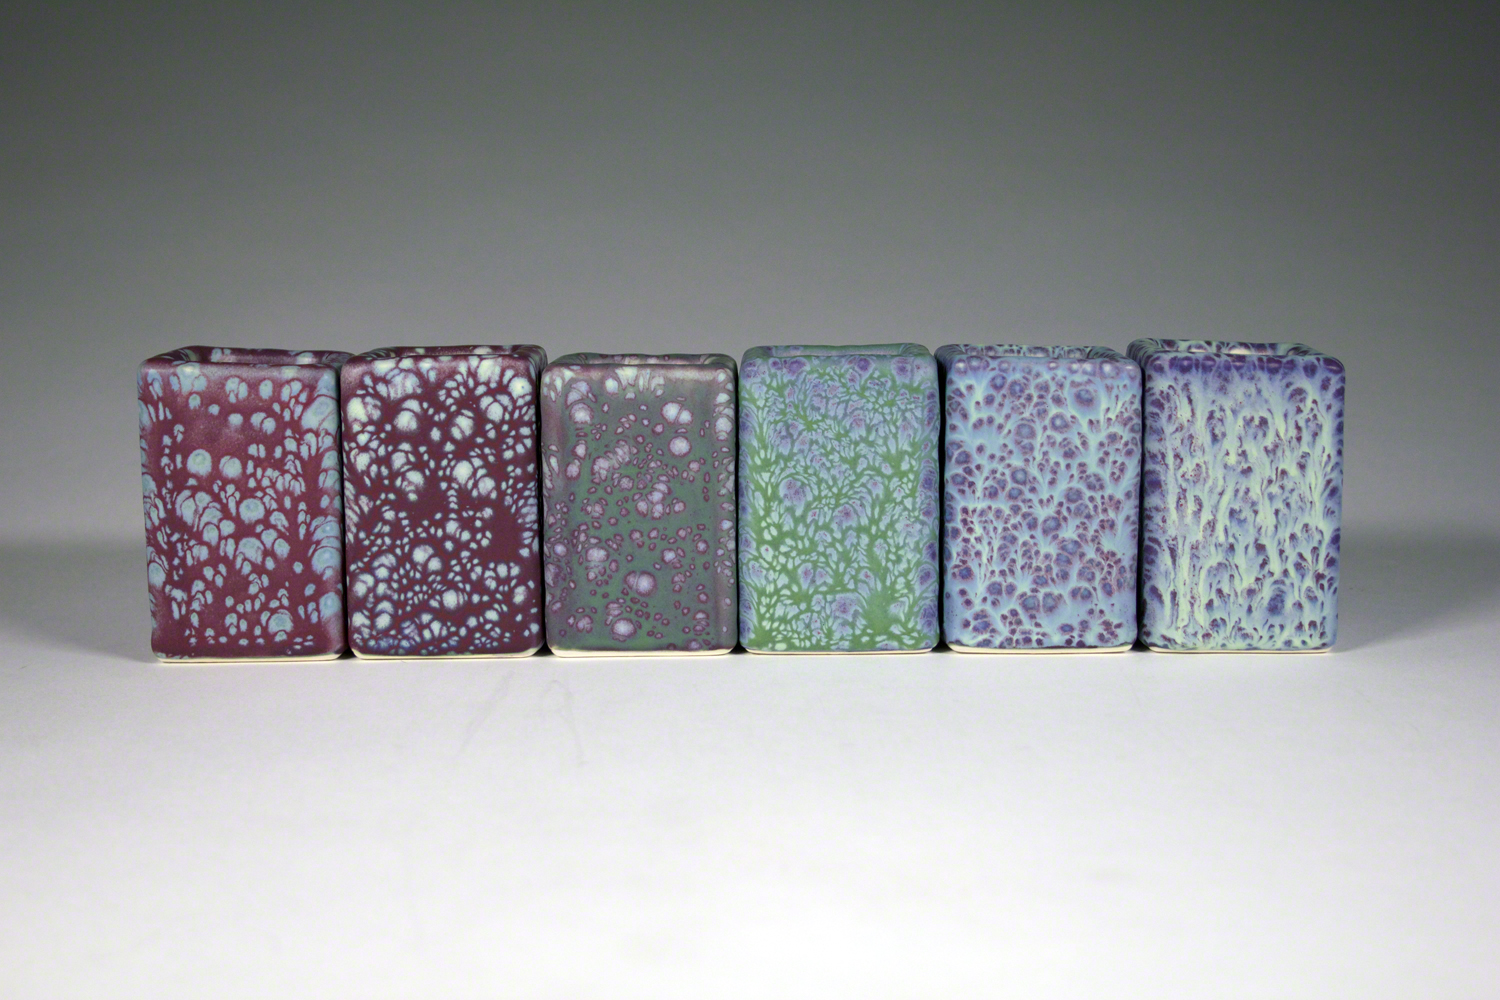
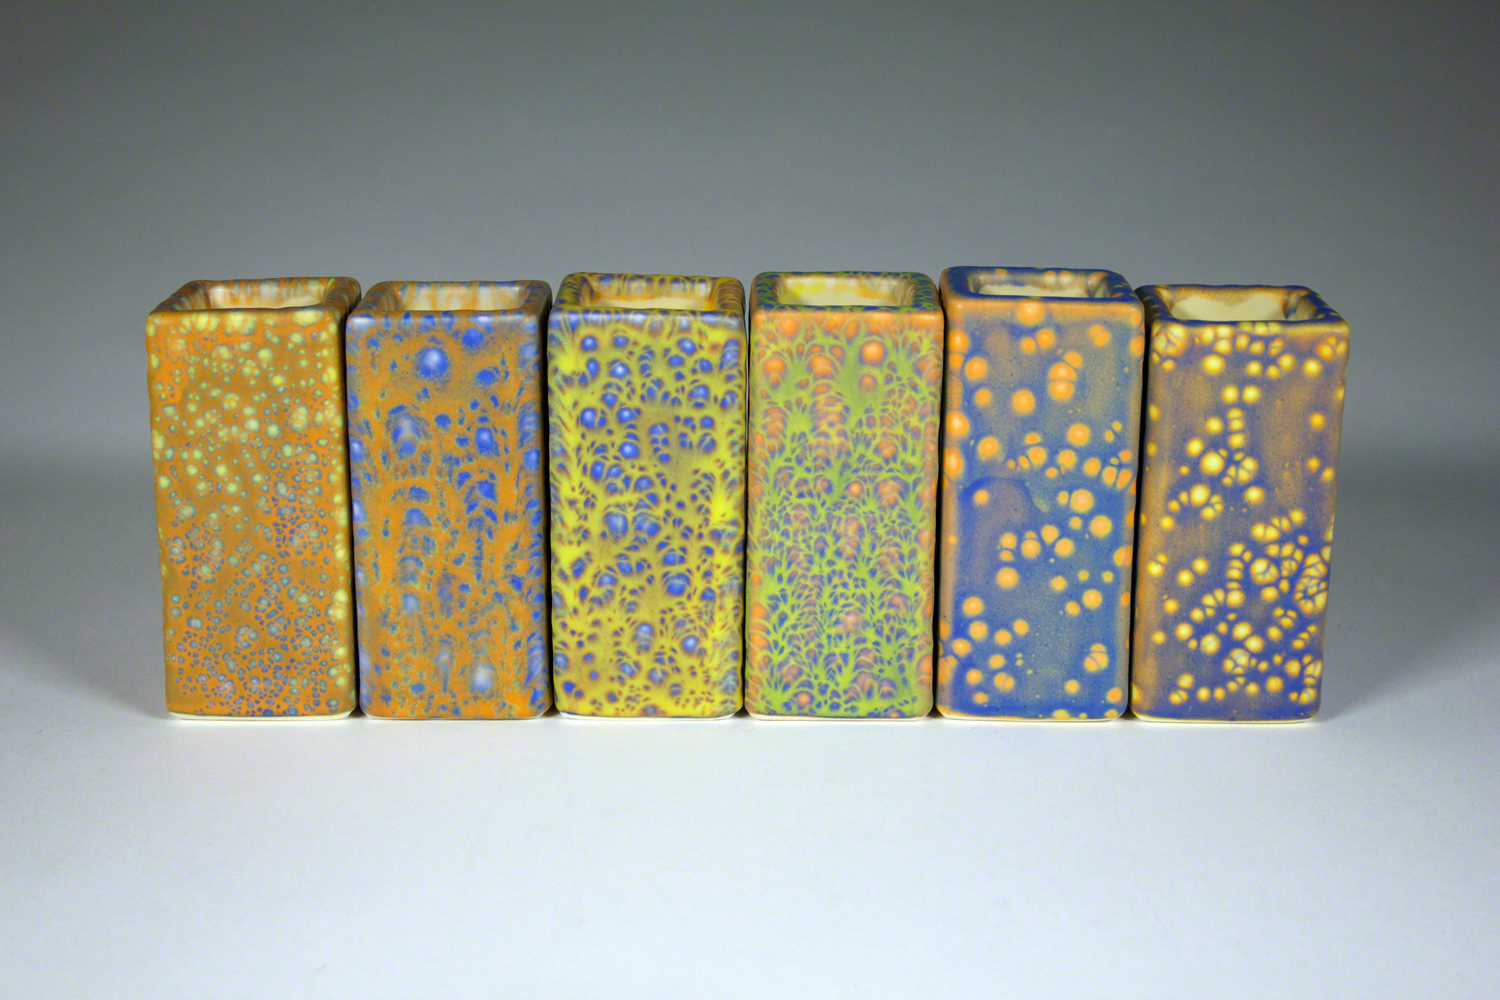
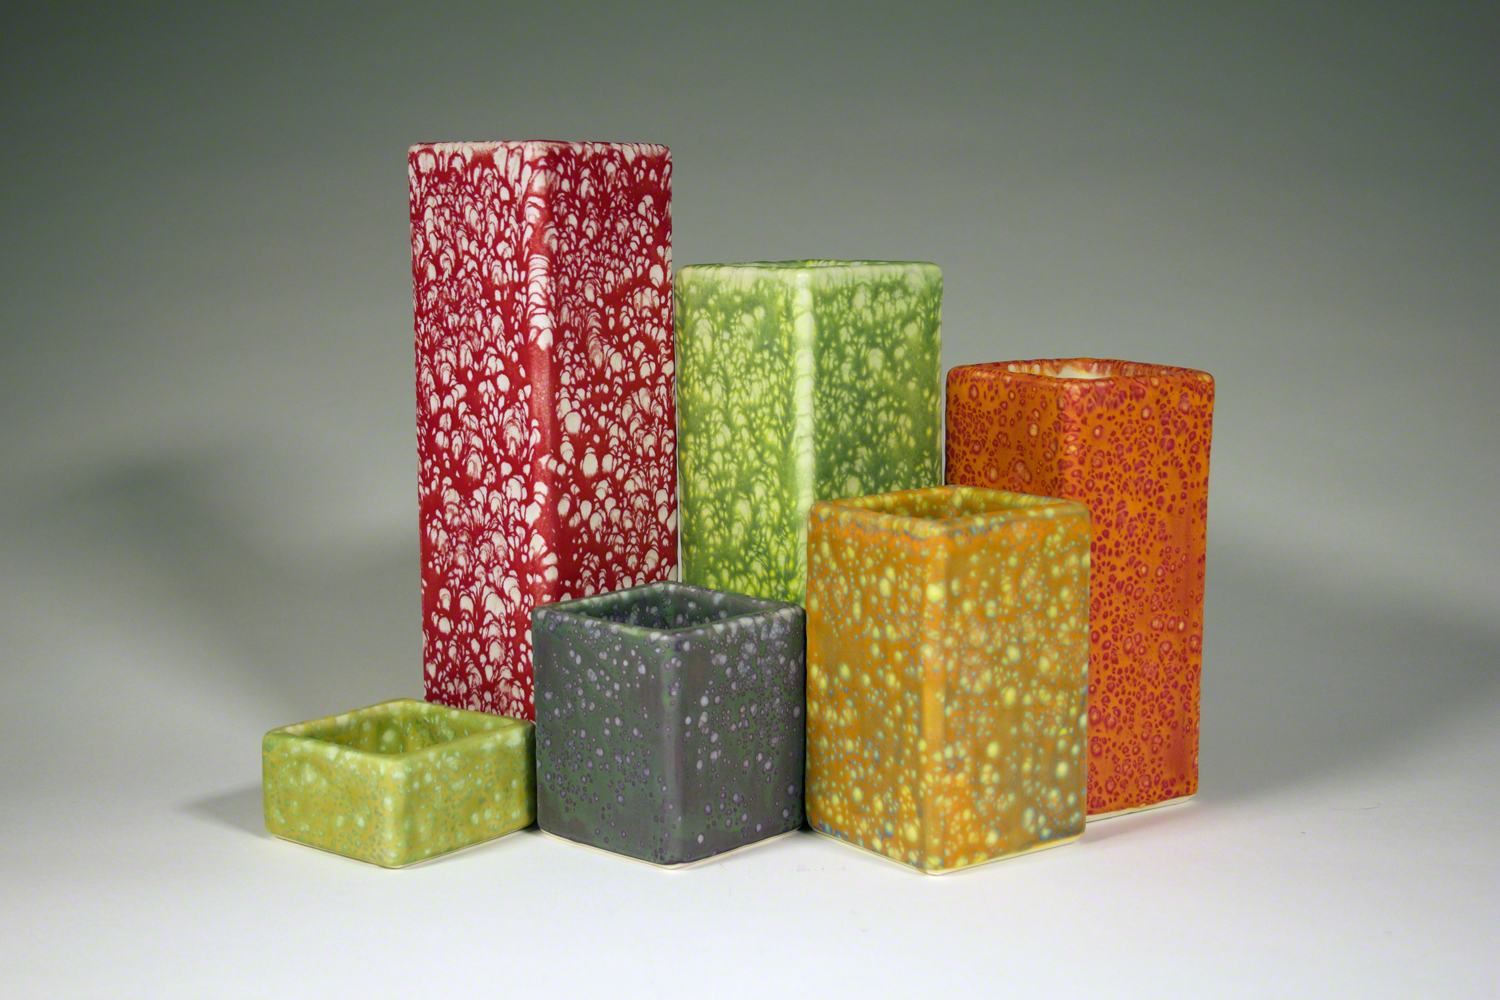
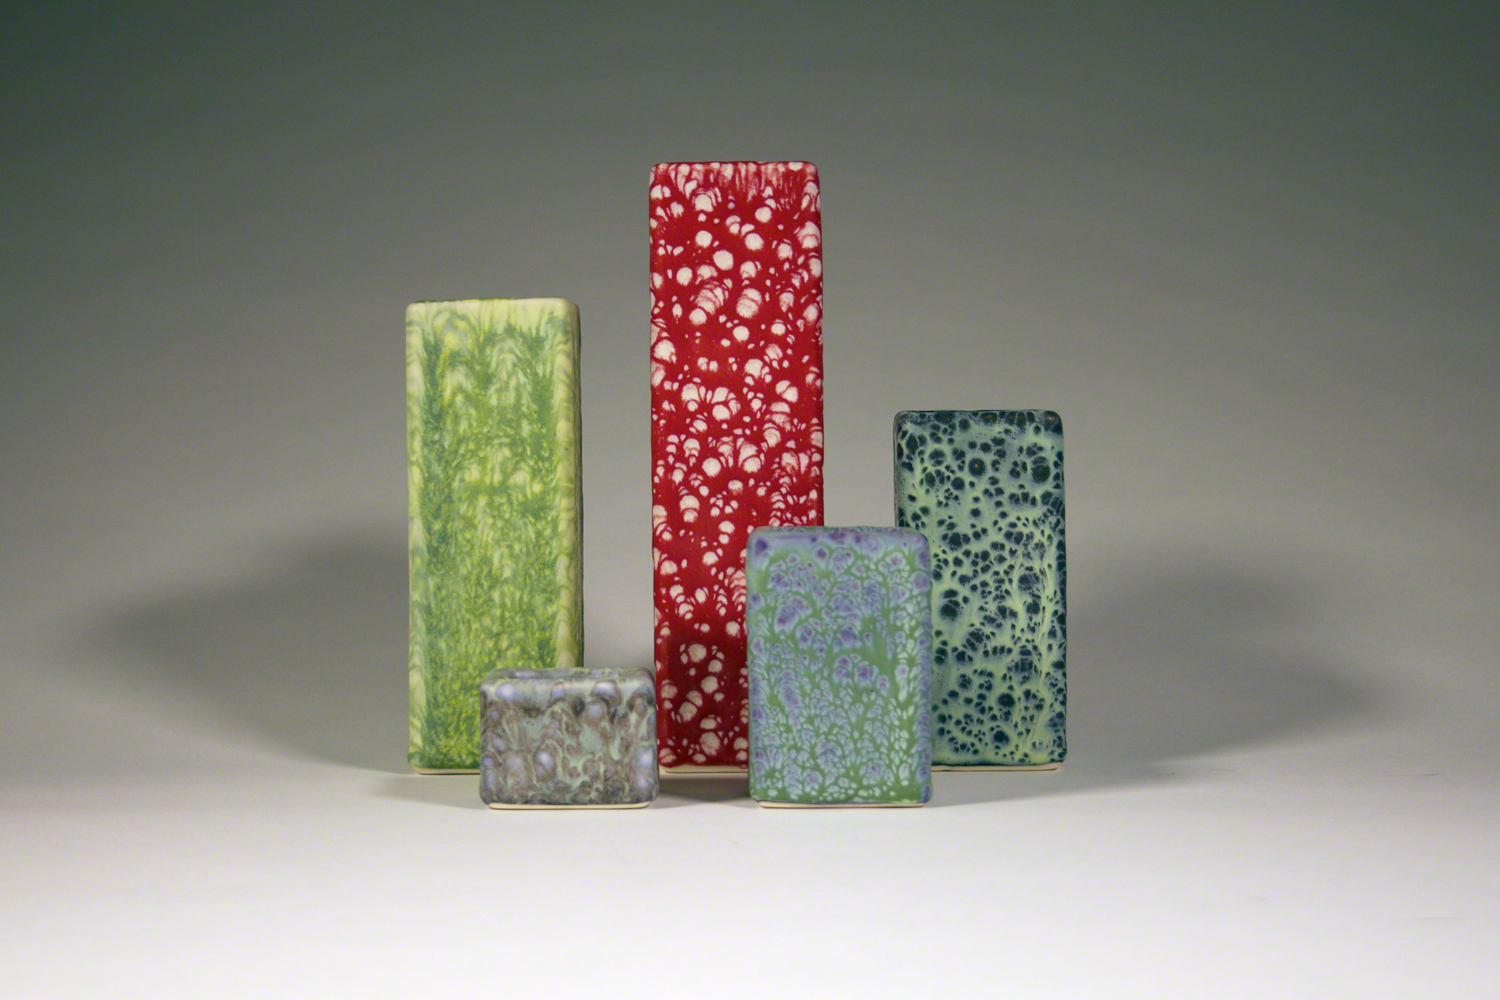
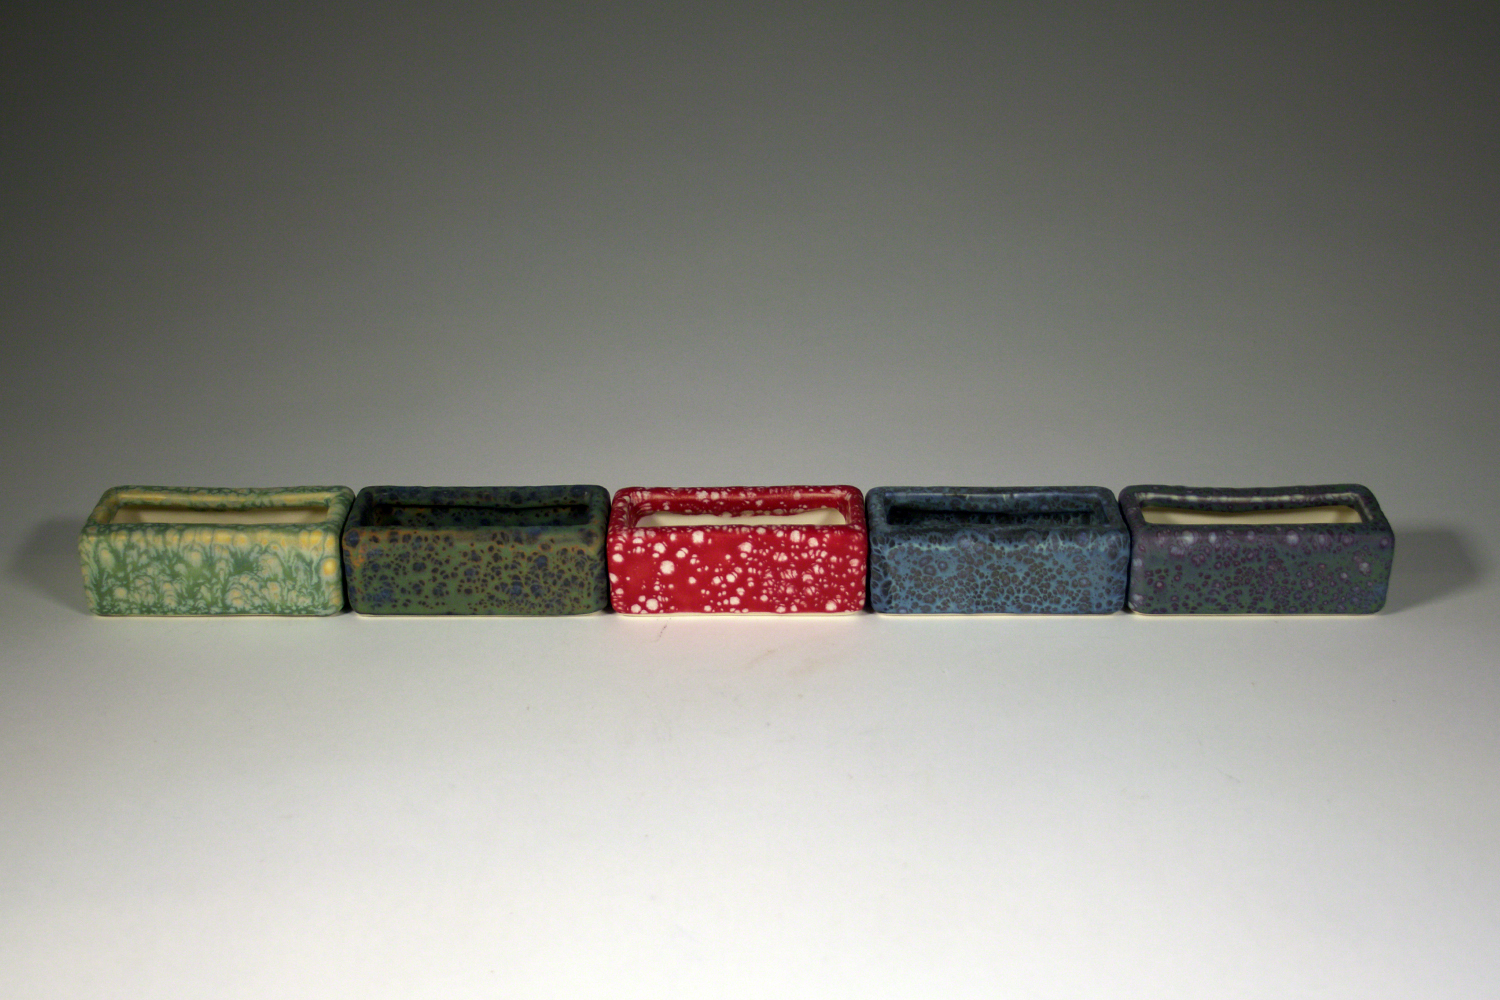
I make small batch glazes from scratch as needed. I apply them by brush. While higher in labour than other application methods, brushing gives the greatest area of coverage with the least amount of glaze. This is important when colours can cost more than $50 a litre.
The saturated colours I use rely on high concentrations of ceramic stains and rare earth oxides. This makes them expensive to produce.
The rare earth oxides are used not only for the delicate shading and light sensitive qualities they impart but also as a nod to the here and now. The rare earths are mined and processed because they are strategic materials with high tech applications. I see my use of them as the subversion of precious resources in the service of art. Rare earths are present in many of the glaze combinations. At the very least, there is a small amount of neodymium in the glaze under each base. It shifts the perceived colour blue or violet depending on the light.
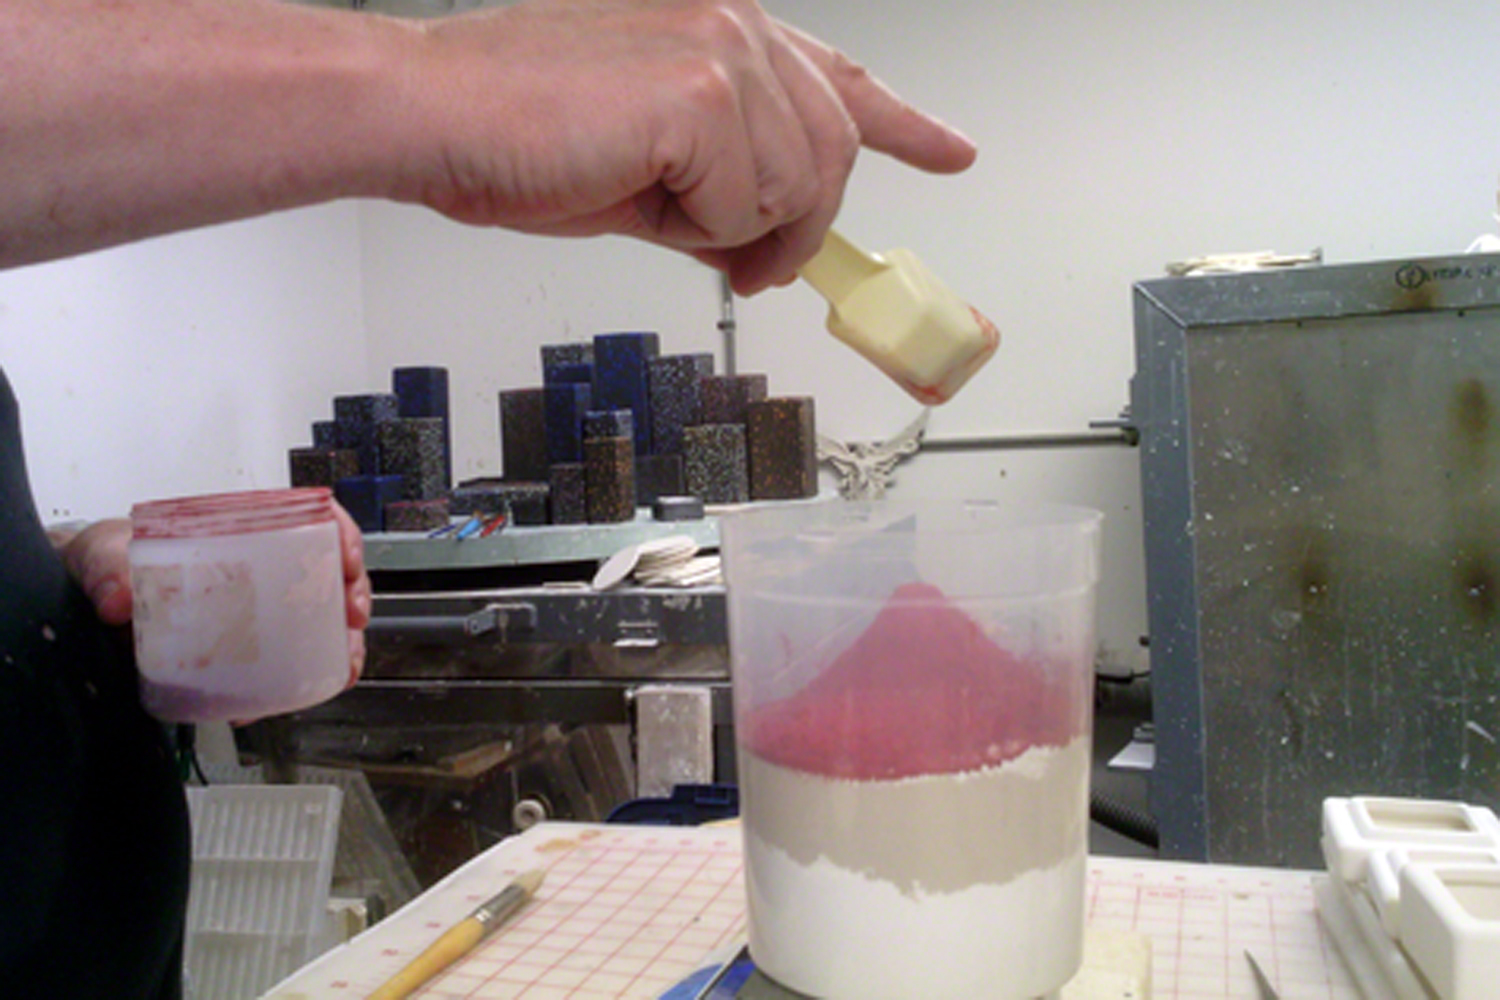
Preparations for glazing include mixing and drying a proprietary polymer glaze additive I developed. I first discovered its unusual properties a few years ago. It has become the focus of my glaze research for 2017.
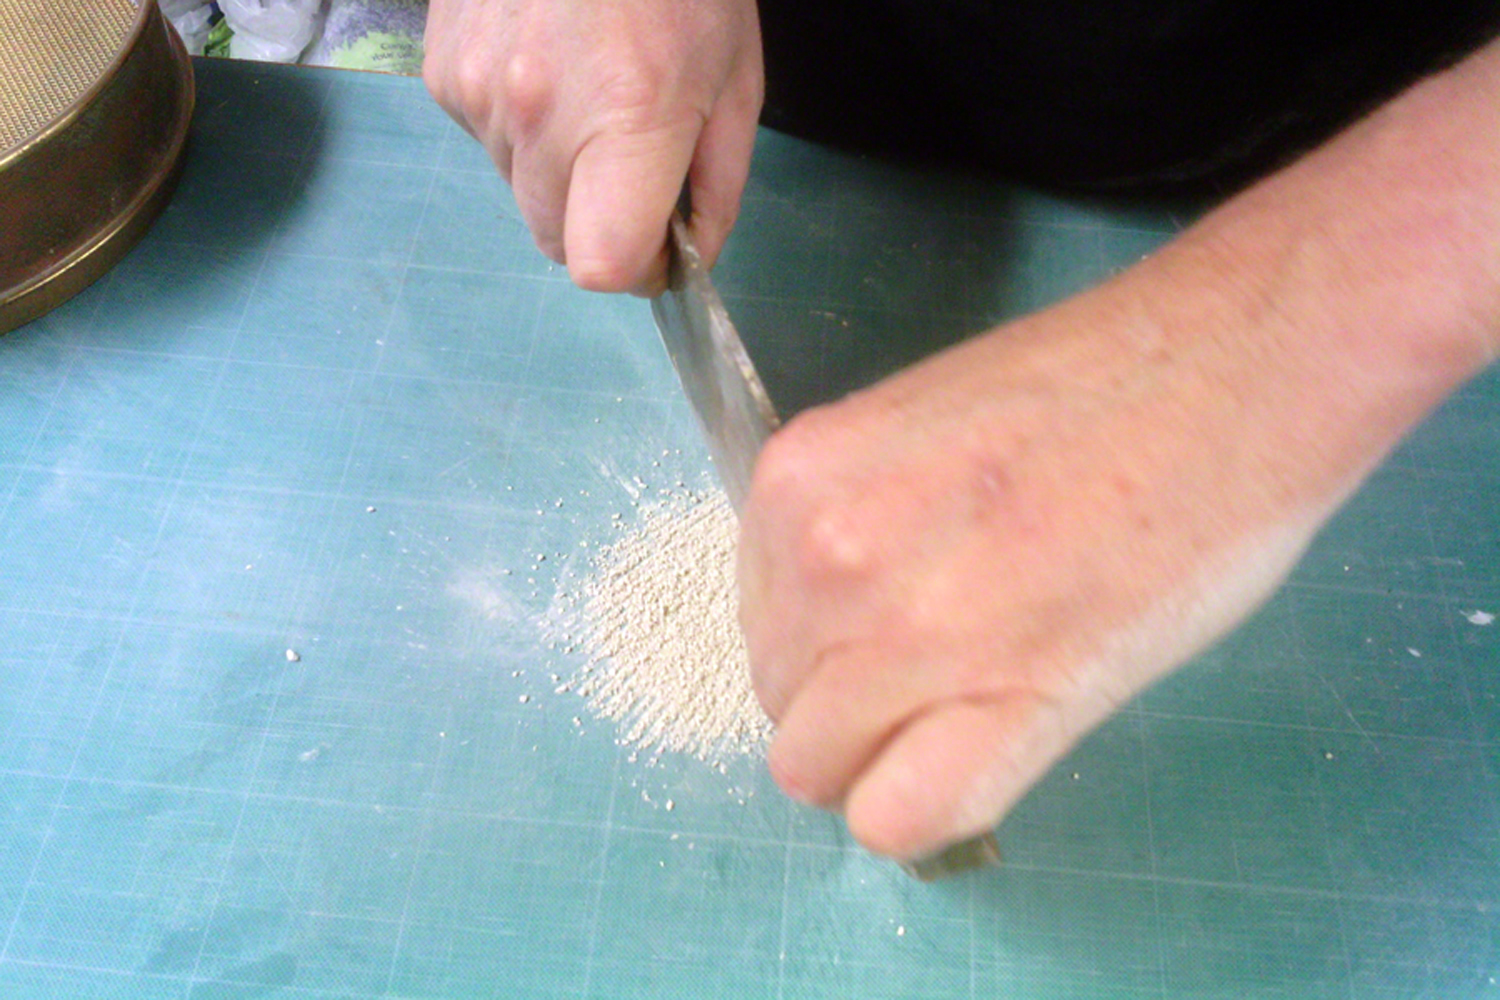
I prefer to chop the additive by hand. Nothing beats hand chopping for the most even distribution of particles. Once chopped, the material is sieved for the selected mesh sizes which are added to the top layer of glaze. This additive is like the spice that transforms an otherwise flat combination of ingredients into something something tasty and delicious.
Granules of this additive act like glaze repellent. They push the surrounding molten material up and away, leaving dramatic effects of colour and contrast in the resulting peaks and craters. Every combination is unique.
Think outside the kitchen. Think of the modules as a designated place for that spare key, those ear buds, a bunch of fresh flowers. Whatever your needs. Living room, bathroom, bedroom or office. Just not the kitchen. These glazes are not food safe.
I have begun to write the glaze combination number under the base of each module. This will make it easier to match colours when placing an order. Custom colour combinations by request. Over seventy combinations tested so far.”
Images were gathered from the weekly documentation of the project from its early stages to the present.